Maintenance Wash
What it is and how its done!
This is a brief overview of what to expect from your standard maintenance wash and how it differs from cheaper local hand car wash services and the benefits of having it done.
Whats included in a standard maintenance wash?
The purpose of a maintenance wash is to maintain previous results from refining and protecting your car. This helps your car to look its best all year round. No need to worry If your car has not had any refinement previously as this service will bring your car up to a good standard with some short term protection.
There are multiple steps and we will walk you through them so you know what to expect.
- Jet Wash
- This softens and removes any loose dirt.
- TFR + Rinse
- TFR stands for Traffic Film Remover. We use a TFR that is completely wax and sealant safe. This prevents it stripping layers of protections from the surface. The use of TFR removes a large amount of dirt which cannot be removed by jet washing alone. This dirt could be removed during the shampoo stage but we want to touch the car as little as possible, with as little dirt on as possible. This helps to keep the chance of swirl marks to a minimum. TFR is normally applied to the more heavily soiled areas such as wheels, bumpers and the lower third of the car.
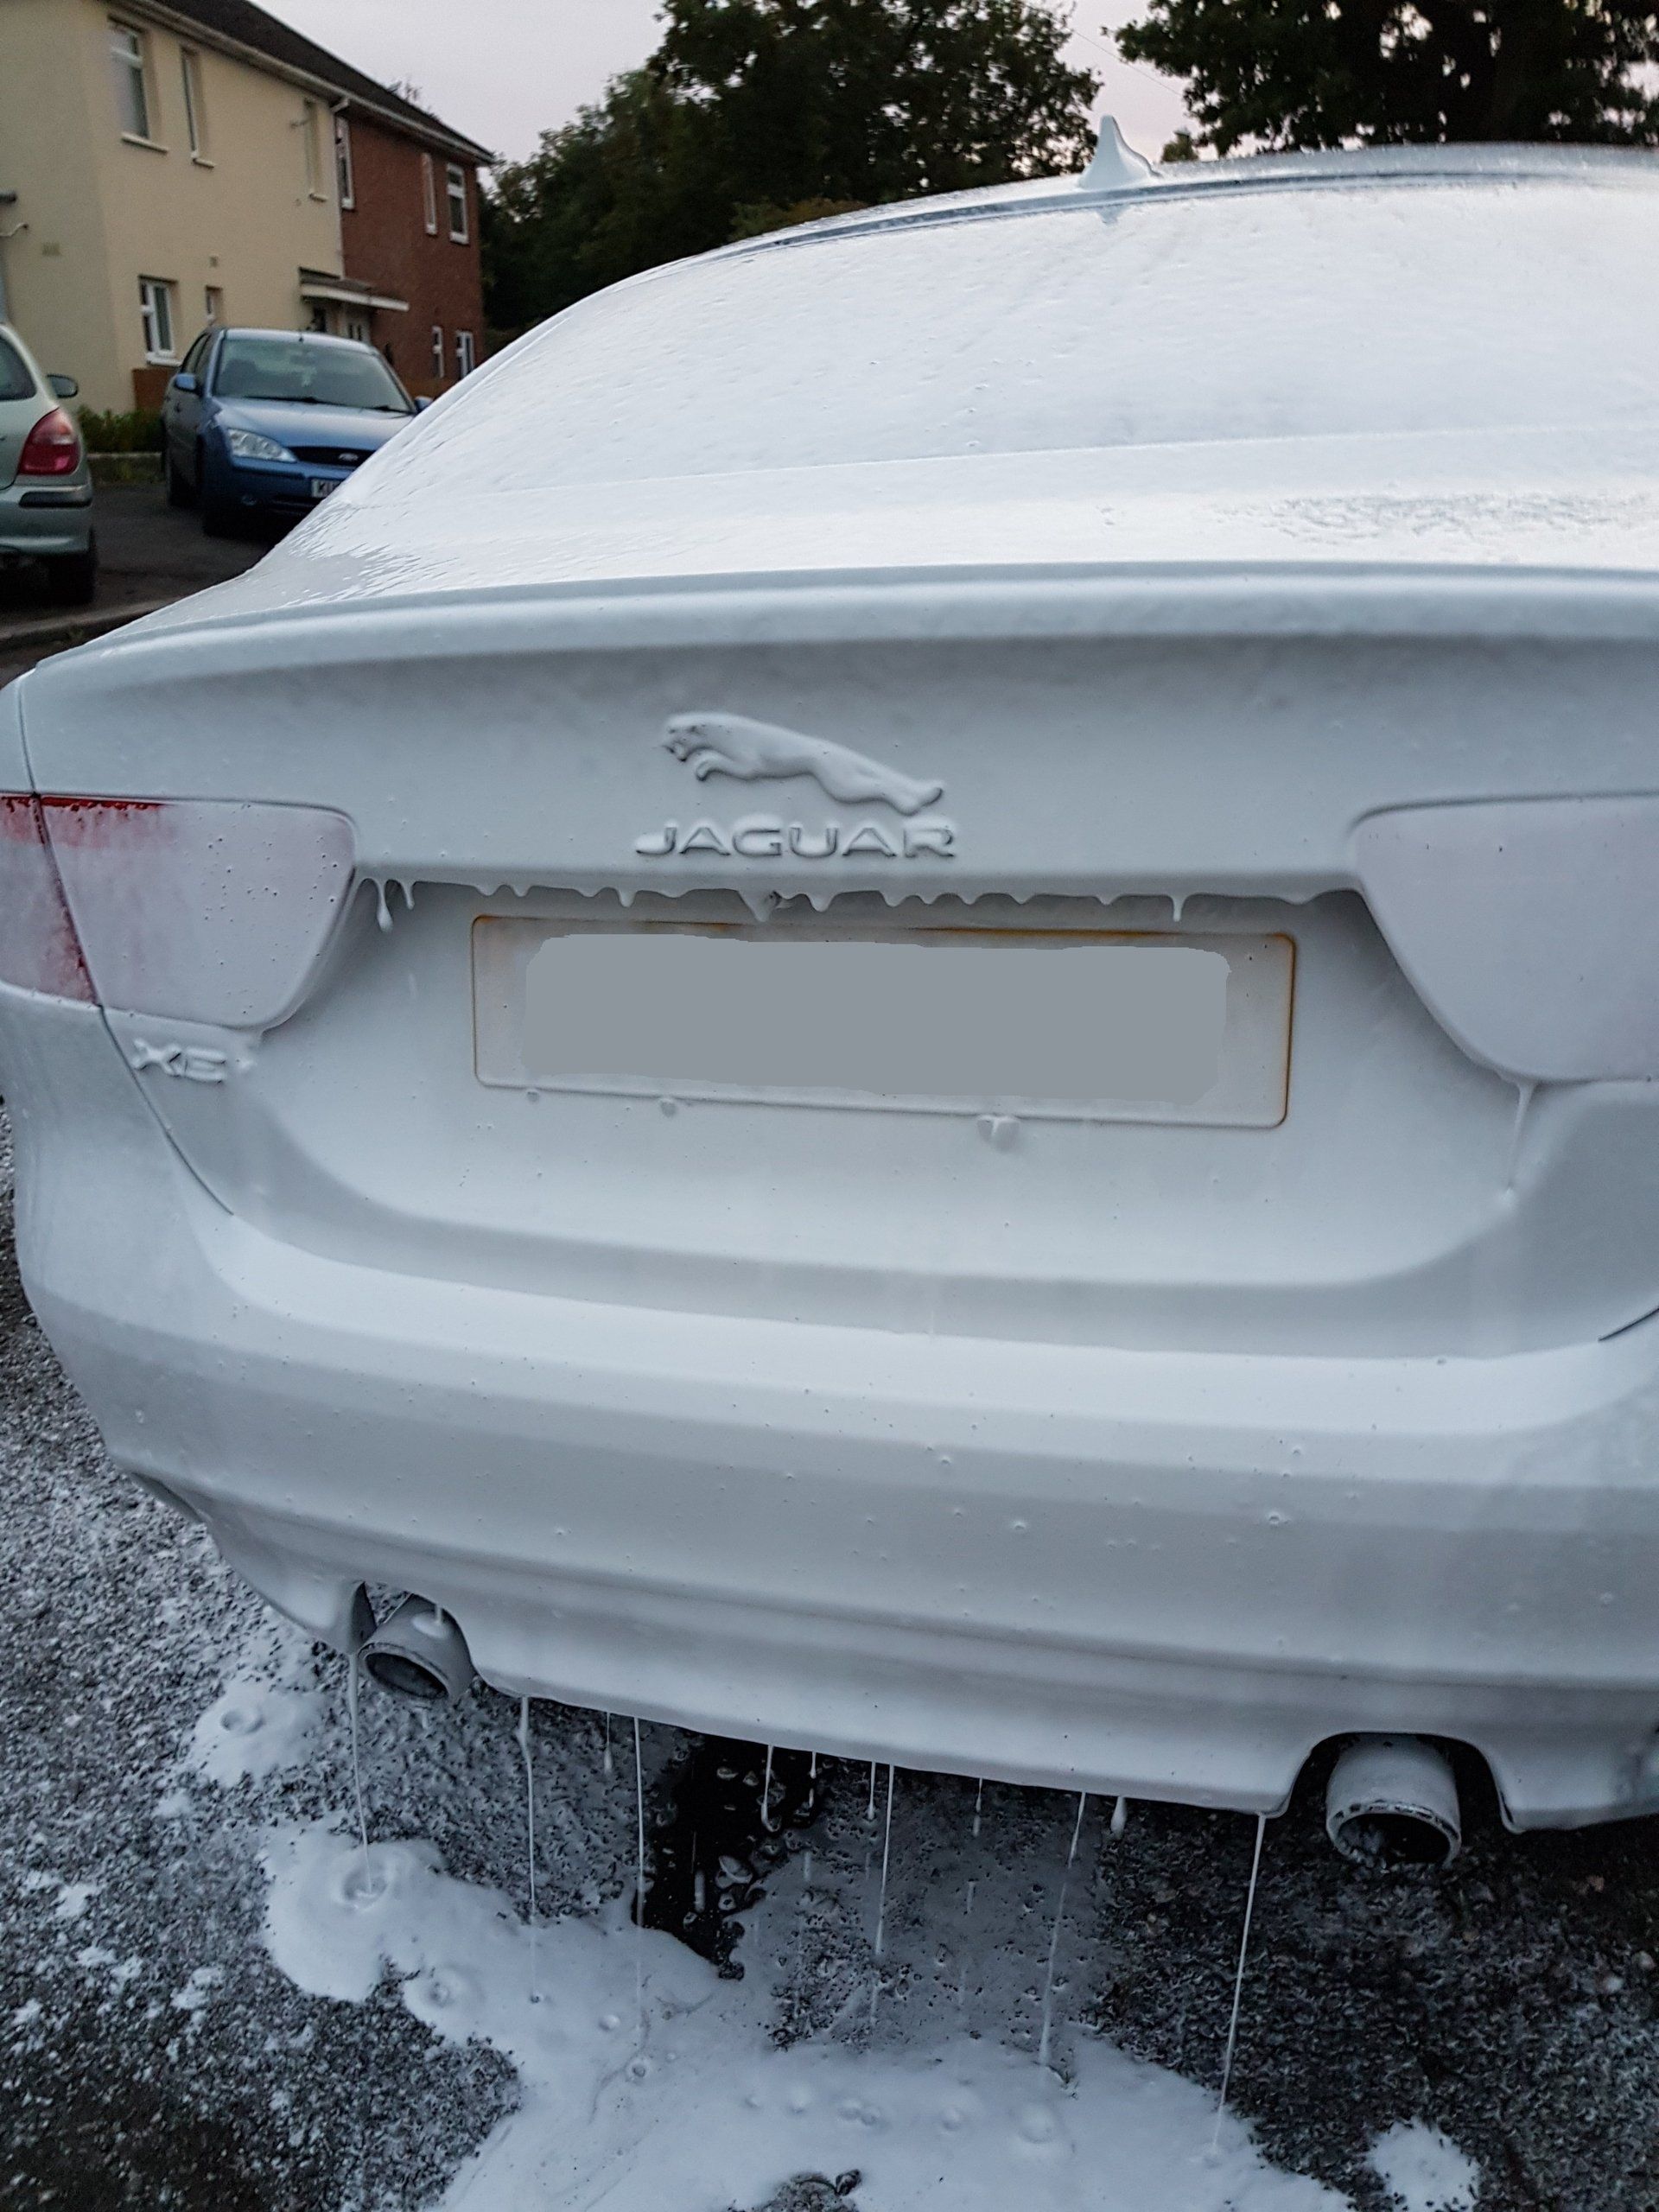
- Snow Foam + Rinse
- This is the fun white stuff that people love to post pictures about. Are there any benefits other than looking good? Absolutely! We try to stay away from thick foam that is just for show and instead apply a blanket of Snow Foam over the entire car. This is effective in those hard to reach areas. It softens and loosens dirt which safely drips off the car. After left to dwell for a few minutes, it is rinsed off leaving an almost clean surface ready to shampoo.
- 2 Bucket Method Shampoo
- 2 buckets? Really? Is that not a bit over the top? Absolutely not! We use two good size buckets which are both installed with grit guards. This allows us to wipe our mitt against the grit guards to remove any dirt from the mitt. One bucket will contain a premium grade shampoo and water mix while the other one will be filled with only water. The purpose of the water filled bucket is to rinse the mitt before dipping back into the bucket with shampoo. This removes dirt from the mitt which helps to keep swirl marks to a minimum. When done correctly the shampoo bucket will still be clear after you have washed the car whilst the rinse bucket will be brown and have dirty particles at the bottom of the bucket. We use high quality lambs wool wash mitts for safe contact with your paint work.
- Jet Wash
- This final jet wash will remove any remaining shampoo and dirt leaving a clean canvas ready for the following stages.
- Dry
- A high quality drying towel usually around 800GSM (grams per square meter, the heavier the towel the better the absorption). This allows us to safely remove the excess water from the car quickly. We then follow round with a smaller lower GSM microfibre towel to completely dry the car.
- Quick Detail
- A good quality quick detailer is magic in a bottle. This also helps as a drying aid and leaves behind a high gloss shine and some protection. You can normally expect a couple of weeks protection from a good quick detailer with no other prep or protection work.
- Tyres + Plastics Dressed
- Wheels are sprayed with a final stage wheel cleaner to give them a shine and some protection, tyres are coated in a satin or gloss finish. External plastics are dressed which brings them back to life so they don't look like a faded grey and gives them some protection.
- Exterior Windows Cleaned
- Finally, windows are cleaned with a glass cleaner and glass towel to leave smear free and clean windows.


